How to build a Himalayan salt wall
· 9 min read
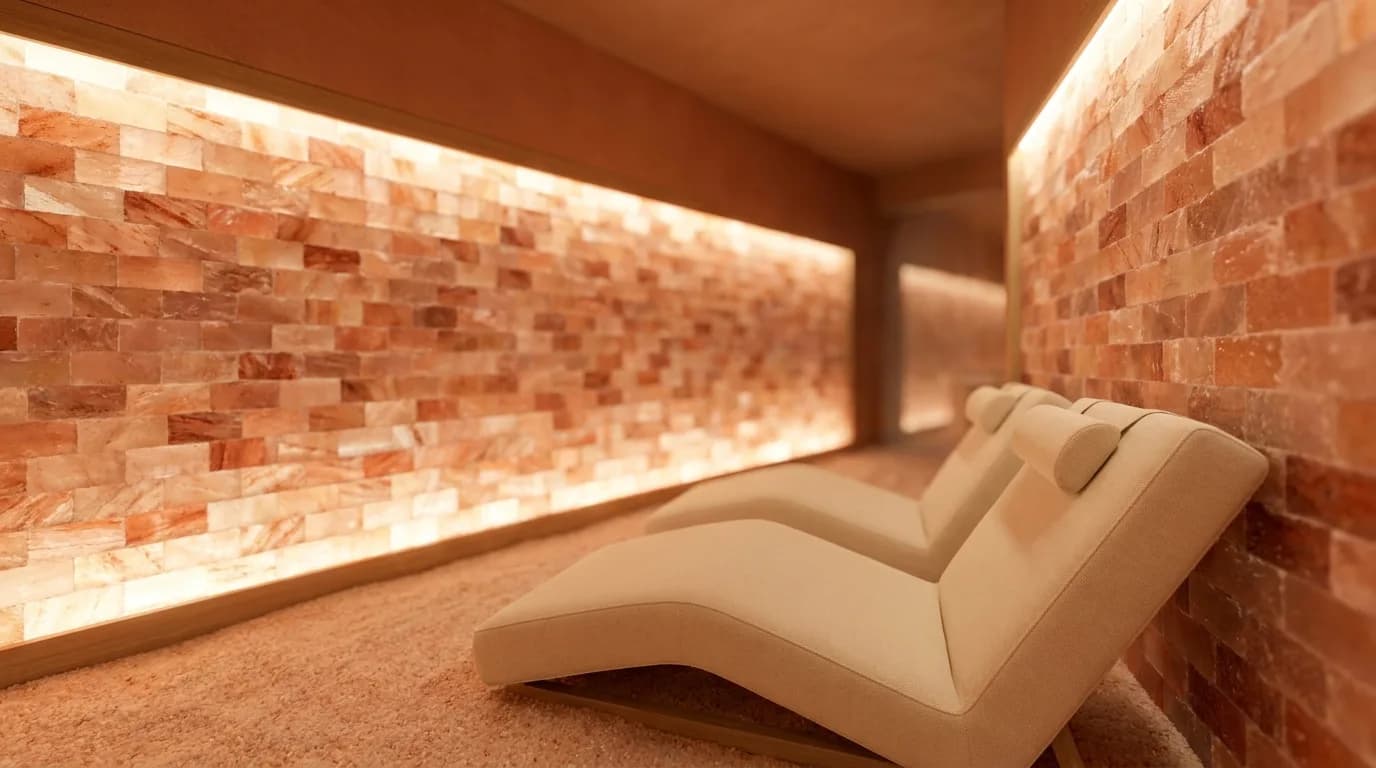
A salt wall is not a tiling job with unusual tiles. Salt is hygroscopic — it pulls moisture from the air — and it reacts badly to the cement-based products a normal tiler reaches for. Most failed installations trace back to two decisions made in the first hour: the substrate and the adhesive.
1. Substrate
Use a moisture-sealed backing board — cement board with a sealed face, or marine ply treated on both sides. The substrate must be rigid: salt brick is heavy, and a wall that flexes will crack the joints. Where backlighting is planned, build a ventilated cavity behind the boards so any moisture that migrates through has somewhere to go rather than condensing against the LED housing.
2. Adhesive — the decision that matters most
Never use standard cement mortar or ordinary tile adhesive. Cement holds water, salt draws it, and the joint fails — sometimes within months, taking the face of the brick with it.
- Two-part epoxy rated for non-porous stone — the reliable default
- Proprietary salt-block adhesive where available in your market
- Polyurethane construction adhesive for smaller decorative panels
- Avoid: cement mortar, standard thinset, gypsum-based products, water-based mastics
3. Coursing and laying
Lay from the base upward, checking level every third course — errors compound quickly in a running bond. Keep joints tight: on a backlit wall a loose joint reads as a bright line and is the most common visual complaint. Standard practice is a running bond with 8"×4"×2" bricks; stack bond looks more contemporary but shows any dimensional variation more harshly.
4. Lighting
Warm-white LED strip at 2700–3000 K, mounted 40–60 mm behind the brick face. Closer than 40 mm and you get visible hot spots where individual diodes show through; further than 60 mm and the glow flattens out and loses its depth. Use only Grade A translucent stock for lit sections — standard wall brick is denser and will look muddy however good the lighting is.
| Element | Specification | Common mistake |
|---|---|---|
| Substrate | Sealed cement board, rigid | Unsealed plasterboard |
| Adhesive | Two-part epoxy | Cement-based thinset |
| LED depth | 40–60 mm behind face | Strip mounted flat against brick |
| Colour temp | 2700–3000 K warm white | Cool white — kills the amber |
| Room humidity | Below 60 % RH | Unventilated wet area |
5. Humidity and aftercare
Keep the room below 60 percent relative humidity. Above that, the wall will weep — visible beading and, over time, salt deposits on the floor. Dry saunas and halotherapy rooms are ideal; direct wet-steam environments are not, and we do not recommend salt cladding there at all. Maintenance is a soft dry brush occasionally. Never wash a salt wall.
Estimating quantity
At standard 8"×4" face dimensions you need roughly 45 bricks per square metre regardless of thickness. Add 7 to 10 percent for cuts, breakage and future repairs — salt colour varies between batches, so a patch made two years later from a different order will be visible. Ordering the overage up front is far cheaper than matching later.
Looking for the commercial detail?
See salt tile sizes and specs